(image: Tri's DIY GPS handlebar mount on an Aprilia Tuono)
The goal of this post is to give you an idea on how to create your own GPS handlebar mount. The core build of this DIY GPS mount should be applicable to anything with handlebar like a motorcycle, bicycle, scooter or ATV. The size and shape of the DIY GPS mount will vary depending on your needs such as the size of your GPS and handlebars. Overall, I've used this GPS mount on two motorcycles with great results.
Materials to build 1 mount:
Aluminum Flat Bar at Home Depot
2 Halex 3/4 in. Steel Conduit and Pipe Hangers #26781, (in the electrical isle of HD)
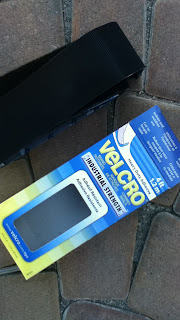
Velcro
2 Hex bolts
2 Nuts
2 Washers
2 Locking washers
Plumber's Teflon Tape
Bill of Materials:
~$15
Tools:
Dremel or Hack Saw
Drill
Sanding block
Scissors
Dry erase marker
Tutorial:
1. Gather your build materials from Home Depot.
2. Choose a good mounting location and make note of how much space you have to work with. Will the GPS mount fit?
3. Cut your aluminum bar to the size of your GPS using either a Dremel or hacksaw, and sand the edges smooth
4. Place the conduit hanger holes side by side, and place them together onto the aluminum bar. Mark your drill holes with your Dry erase marker.
5. Drill out the two holes
6. Tighten and screw in the nuts and bolts with the washer and locking washer.
7. Optional. Drill out a pair of holes to attach some Velcro straps.
8. Mount the GPS holder to your handlebar by unscrewing the Speed Thread on the Conduit Hangers.
9. Add some plumber's Teflon thread tape to protect your handlebar from scratches.
10. Pull the hangers apart and mount it to your handlebar. Put back the screw and tighten down.
11. Cut some velcro and add it to the front of the GPS holder and to the back of your GPS.
12. Mount your GPS to your new DIY GPS mount. Now start on your next adventure!


Nice and simple! I'll give it a try for my dr.
ReplyDeleteThx for sharing this.