Disclaimer: proceed at your own risk, as I take no responsibility for what you do while working with electrical current. Batteries can be dangerous. Use safety precautions and common sense.
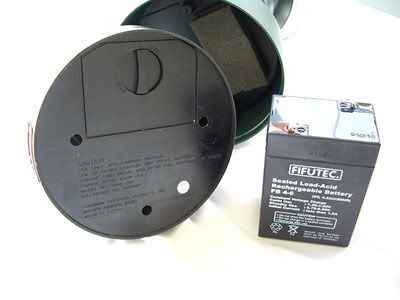
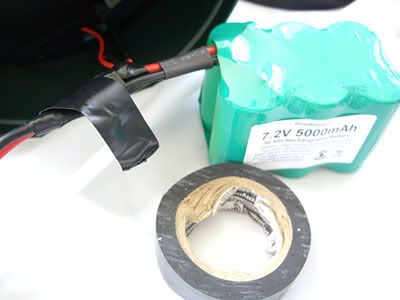
The lantern uses a 6V sealed lead acid battery charging at 7.2-7.5V, which we’ll replace with a direct fitting 5000mah 7.2V NiMH battery. Usage time will extend to ~7 hours with one 4W tube on, and will save some weight. Using a smart charger will insure a full charge and a long lasting battery when compared to the battery system prior to the modification.
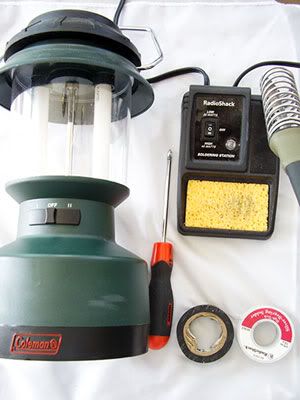
Materials:
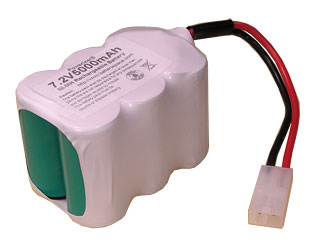
NiMH Battery Pack 7.2V 5000mAh (36Wh) for 6V Portable Devices - $36.85
Multi-Current Smart Charger ( 1-2 A ) For any Airsoft 4.8V - 10.8V NiMH / NiCd Battery Packs - $27.95
Electrical Tape - $0.50
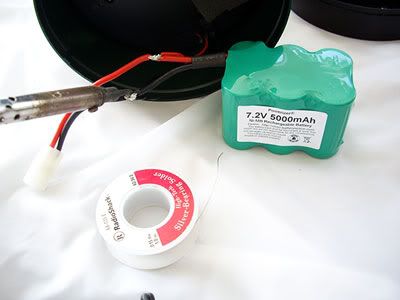
Silver Solder - $1.25
Tools:
+ Screwdriver
Soldering Iron
Sharp object (knife, x-acto knife)
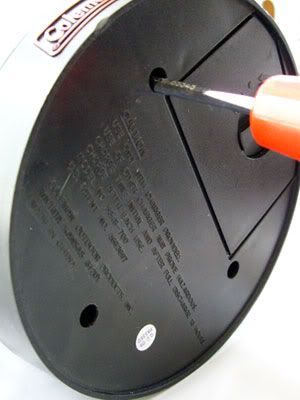
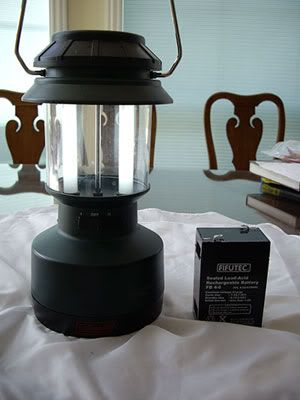
Step 1: Unscrew the bottom 3 screws to reveal the sealed acid battery pack.
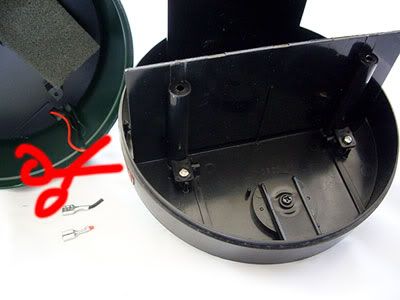
Step 2: Remove the wires from the battery.
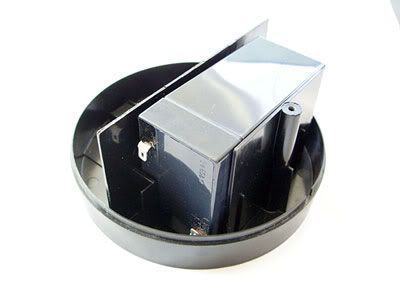
Step 3: Remove the battery from the housing. There is double sided tape holding the battery down:
Step 4: On the Coleman lantern, cut the ends of the red (+ positive wire) and the black (- negative wire).
Step 5: (In this step, on the battery, be sure not to let the exposed red wire and exposed black wire touch. In the photo, the cut was staggered to insure safety.)
a. On the battery, shave the plastic mold off of the red and black wire with a knife, but do not cut.
b. On the Coleman, expose 1cm of bare wire for the red and black wires.
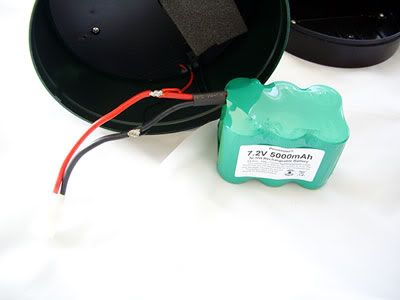
c. Splice in the wire from the Coleman lantern to the battey (red to red) and (black to black).
Step 6: Solder the connections.
Step 7:
a. Wrap each solder joint individually with electrical tape. Again, we do not want the exposed wires to touch one another.
b. Then wrap around both wires.
Step 8:
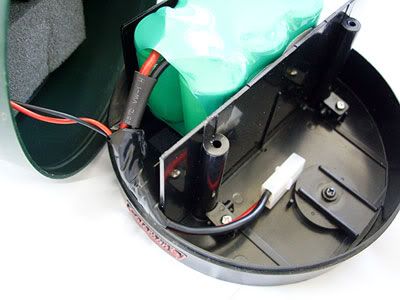
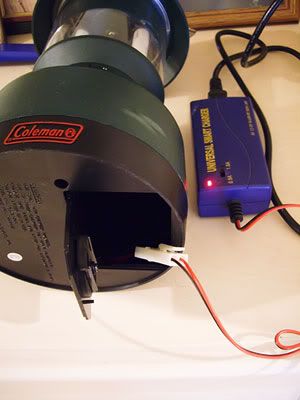
a. The battery will fit directly where the old battery was positioned. There is no need for any adhesives as it’s a firm fit. Run the wire to the compartment where the old charger was stored. This is so you can recharge your unit.
b. Plug up the old AC charging plug on the Coleman lantern as you will no longer charge the unit from this plug--you can use Styrofoam to do this.
Step 9: Screw the three screws back together
Step 10: Let there be light!
Step 11: Charge after a good day’s use.
You did this just to show that you could, didn't you? With a lot less effort and cost, you could have simply replace the original battery with a new one. If you had checked, you would have discovered that this lantern uses a standard 6V / 4.5 AH sealed lead-acid (SLA) battery and is used, for example, as backup battery for security / alarm systems.
ReplyDeleteThanks for this tip. Coleman doesn't make it easy to replace the battery in the Model 5375 Lantern. The double-sided tape is difficult to unstick. Also, I had to drill out the holes in the casing to get at the screws with my smallest Phillips screwdriver.
DeleteIf YOU had read his intro to this project, you would have discovered that he wasn't only looking to replace the power source, but also wanted longer run time for the light. Also you would have seen that he actually did check and discovered the lantern used a 6V / 4.5 aH sealed lead-acid battery. He stated this in his intro. Think before you type next time.
DeleteHow do you open the battery compartment on a 5359 Series Lantern. The one I have doesn't have the rechargeable feature like the one you used for your demonstration.
ReplyDeleteWouldn’t be easier and cheaper just to buy a new unit !
ReplyDeleteThink about it !